A contact form is a very useful element of a website, allowing visitors to quickly get in touch with the site owner. In this article, we will show you how to add such a form to your site in a few steps using the Sitejet Builder editor.
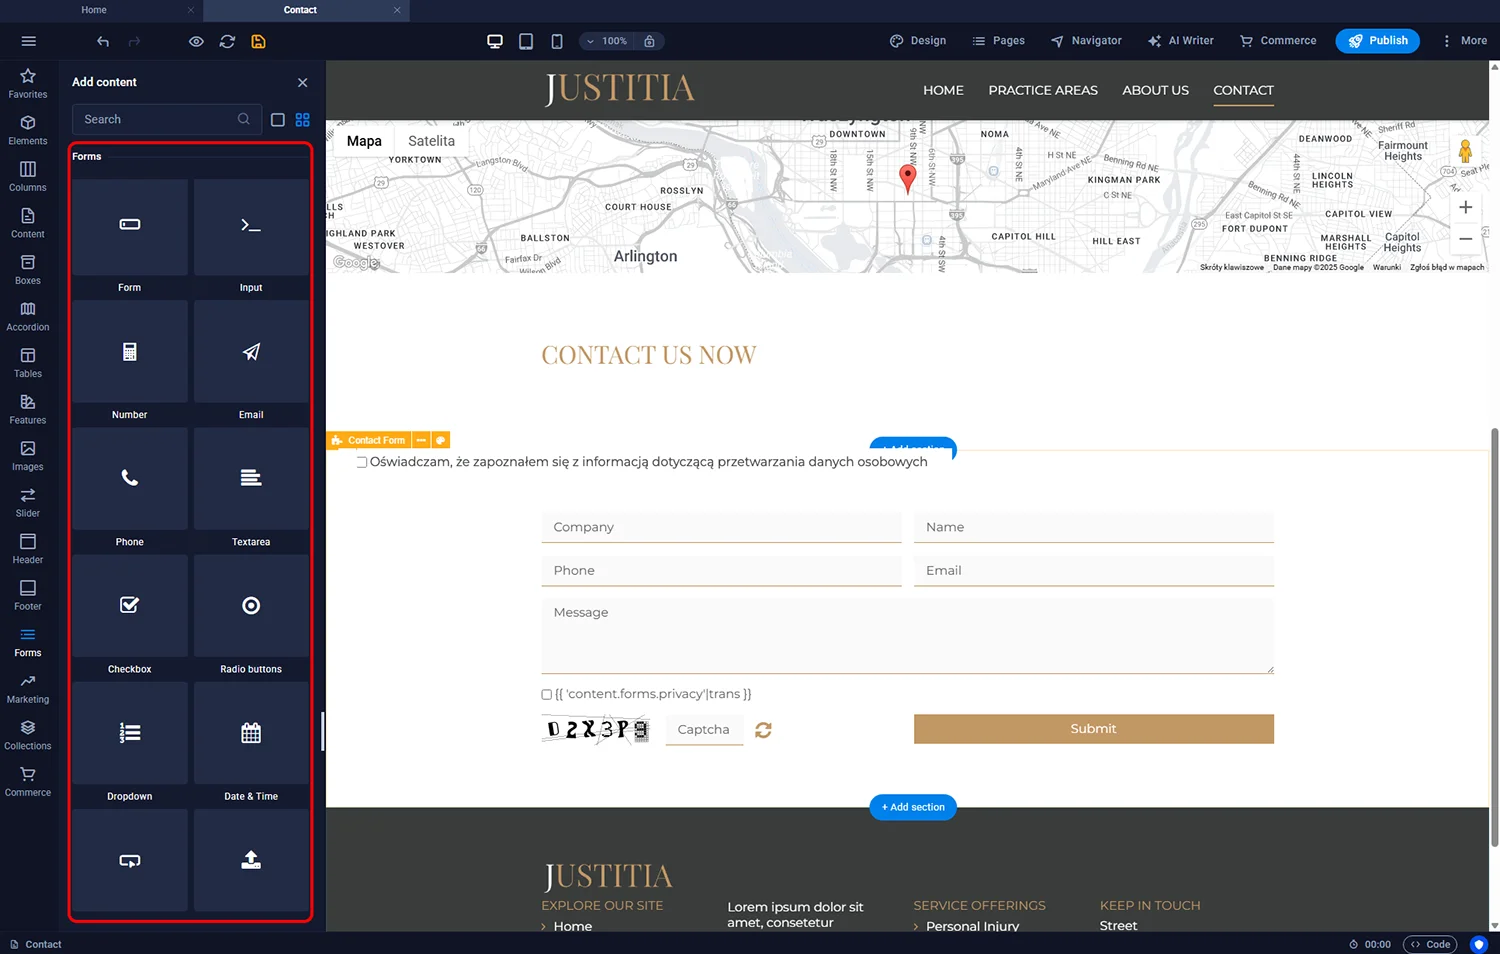
To place a contact form on the page, simply click the Forms icon visible in the left sidebar, then select the Contact Form element and drag it to the desired location on the page.

Sitejet Builder - adding contact form
To quickly change the appearance style of the added form, double-click on it in the main program window. This will open its options. In the Style tab, several pre-prepared appearance variants are available. Simply click the one you choose for its settings to be applied. If you want to customise the form's appearance in more detail, you can use the options available in the left sidebar.

Sitejet Builder - contact form layout
The form added in the manner described above consists of several most commonly used fields. If you need to add new fields to it, such as a dropdown list or checkboxes, you can do so by clicking the Forms icon in the left sidebar and dragging the selected field to the appropriate place in the form within the main editor window.
Sitejet Builder - adding form field
Each individual form field can be customised. Simply double-click its label in the main editor window to open the settings panel. Depending on the selected field type, the available settings may vary. In addition to elements such as the field name or available options to choose from, here you can also decide whether filling in the field is required to submit the form.
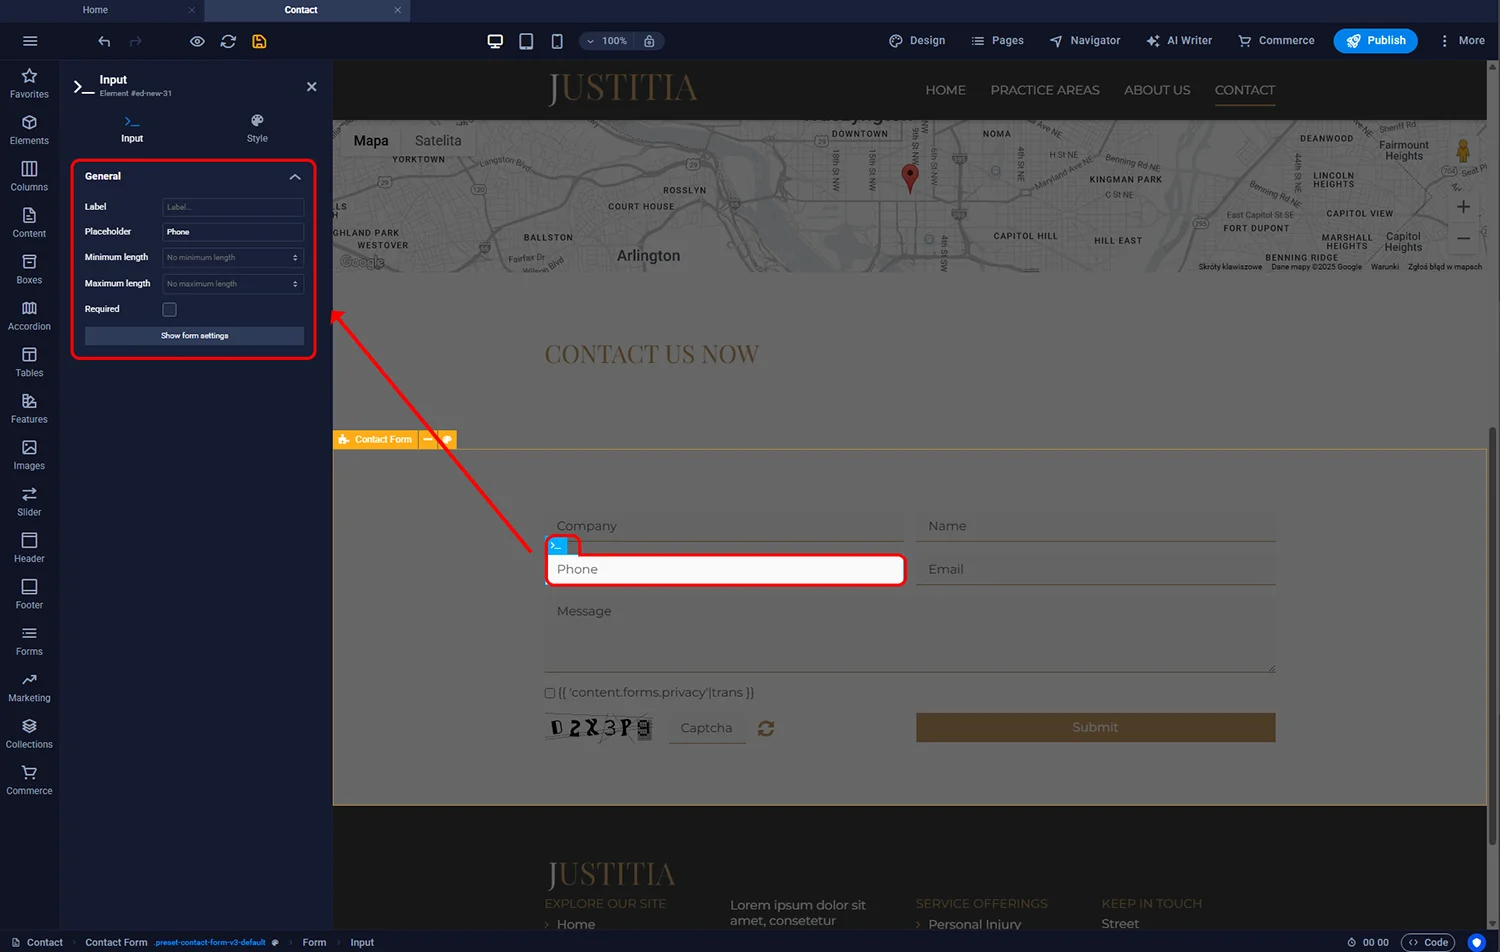
Sitejet Builder - form field settings
After adding the form to the page and configuring its fields, it is still necessary to set the form submission options. Double-clicking the form element in the main editor window will open the settings panel, providing access to the following options:
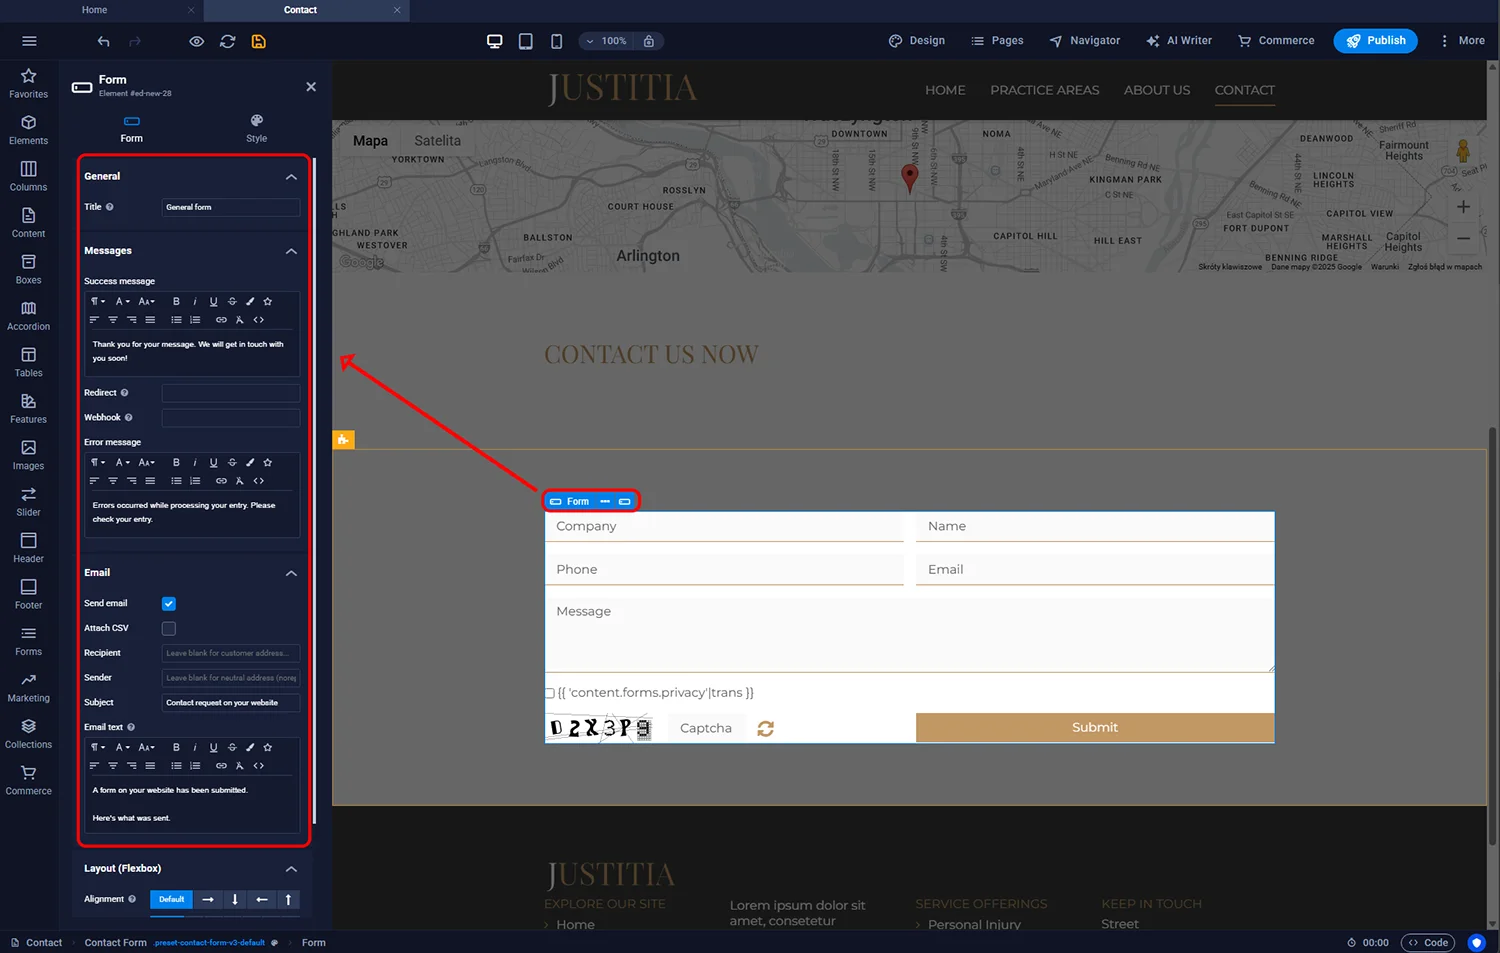
Sitejet Builder - form settings
© 2026 Smartx Technologies LTD. All rights reserved.