A footer is a fundamental element of every website. In this article, we will show you how to easily and quickly add one in the Sitejet Builder editor.
Sitejet Builder has many predefined footer settings to choose from, to maximise the simplification of the process of adding it. To insert a footer section onto the page, click the Footer icon in the left sidebar and drag the selected layout to the very bottom of the page.
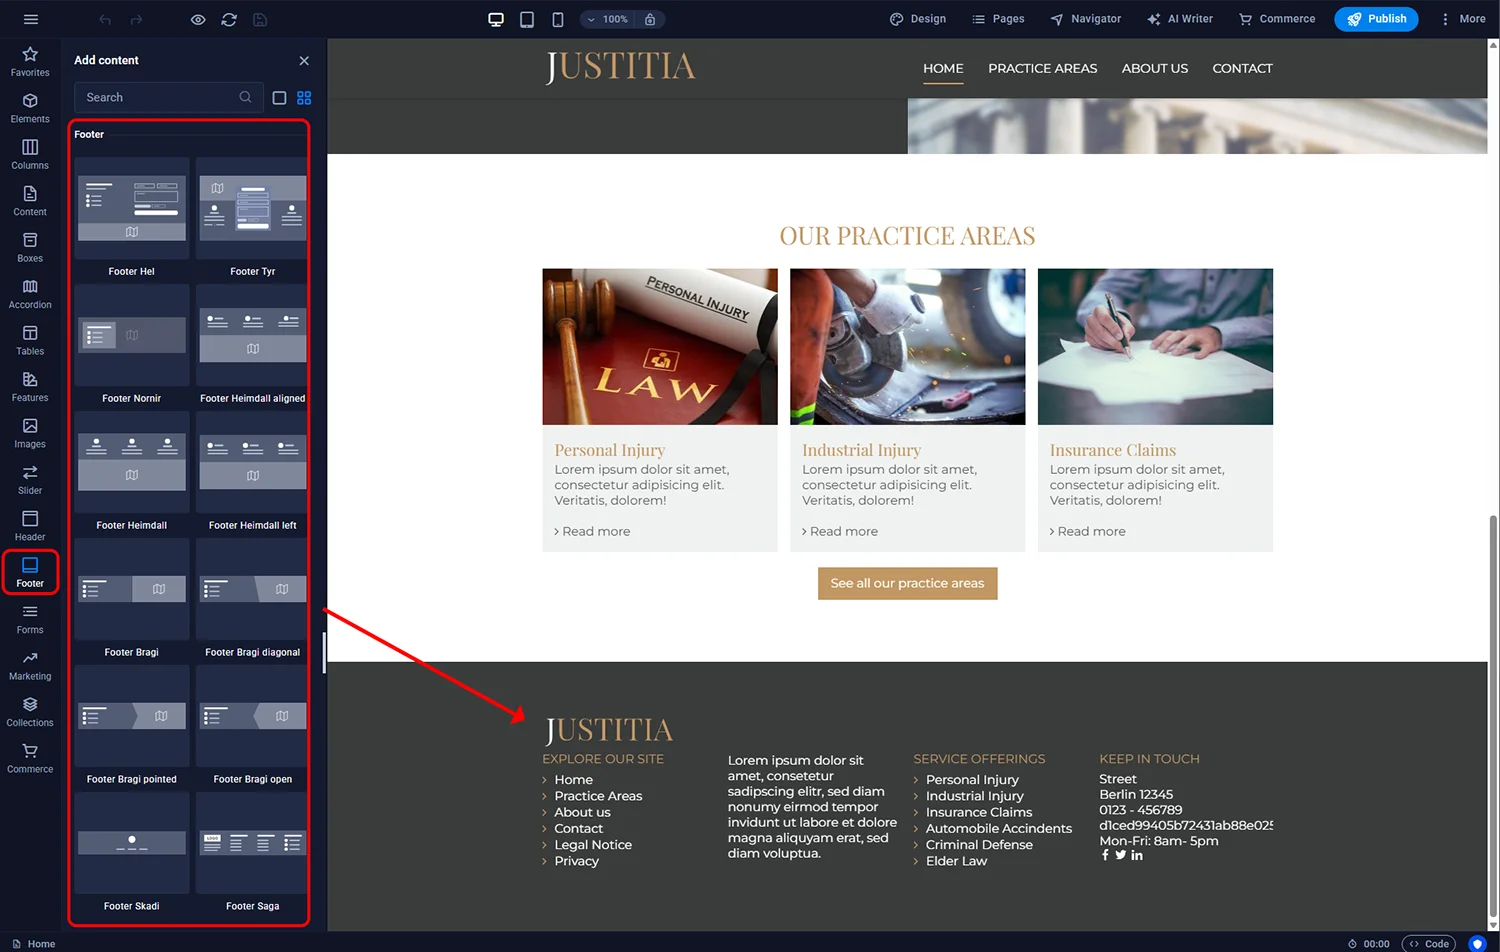
Sitejet Builder - adding website footer
After adding the footer section, we can double-click its container marked with a yellow frame in the main editor window to access the settings. Here we can edit settings such as the background type and colour, margins, or the number of columns it consists of.
The footer content is populated using basic components - headers, text blocks, and icons or images. Each of these elements can be freely modified by removing or adding new ones. To organise the layout, it's worth using the Navigator panel, which displays the content structure in a hierarchical list. Modifying a selected section is possible by double-clicking its name - both in the aforementioned panel and directly in the editor's workspace.
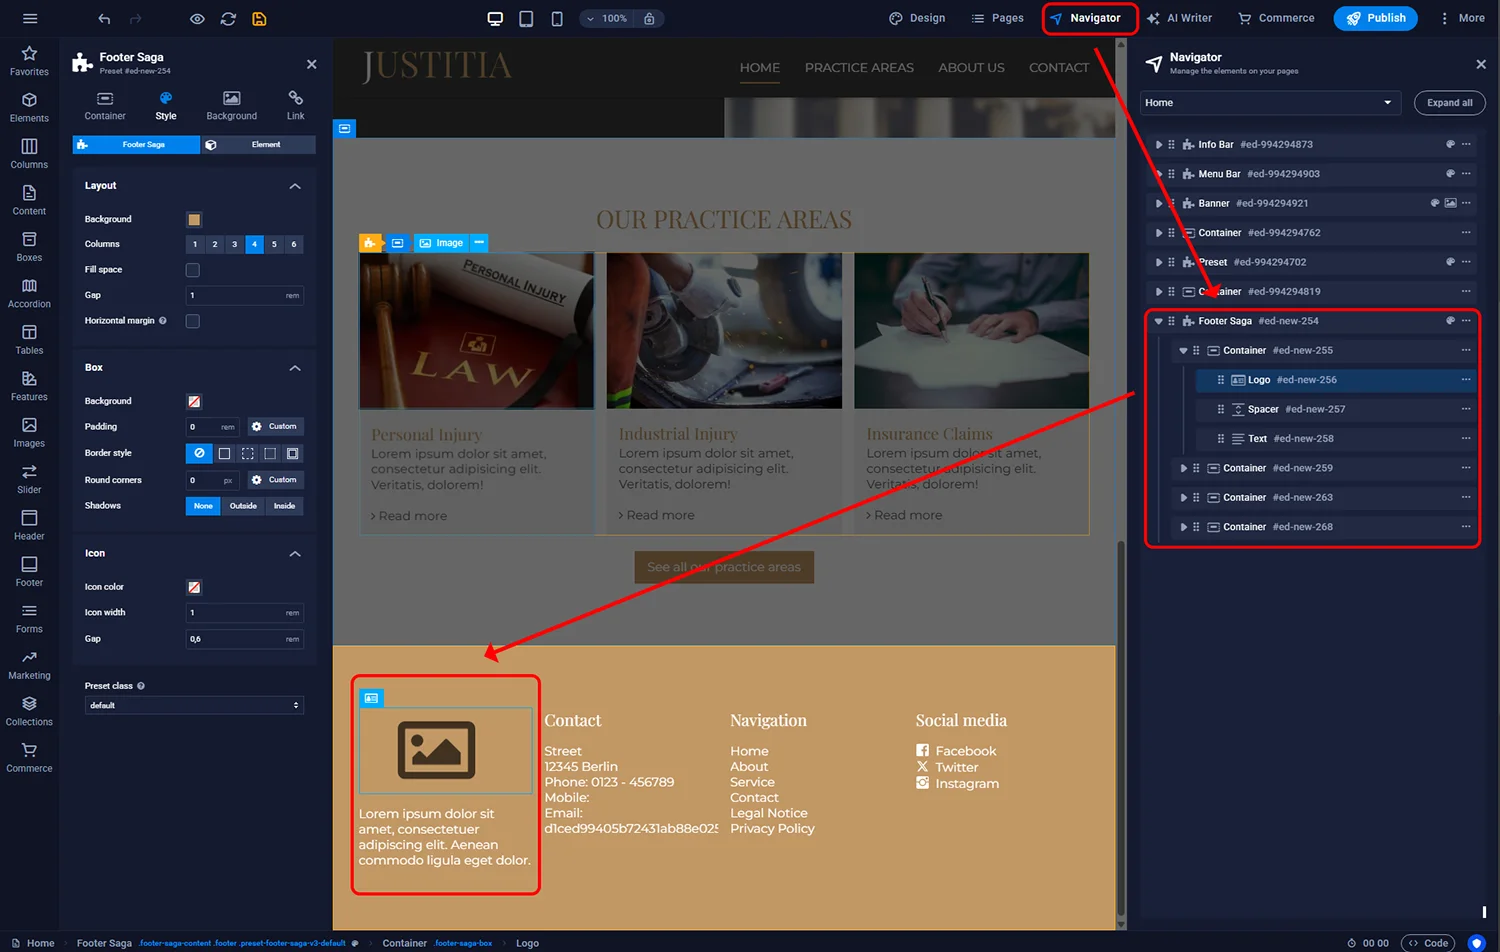
Sitejet Builder - footer content edit
© 2026 Smartx Technologies LTD. All rights reserved.