If your website should include an element that displays several images at once, the best solution to achieve this is to use a gallery. In this article, we will show you how to add and configure such an element.
To add an image gallery to the page, select the Images icon from the left sidebar, then drag the Gallery element to the desired location on the page.
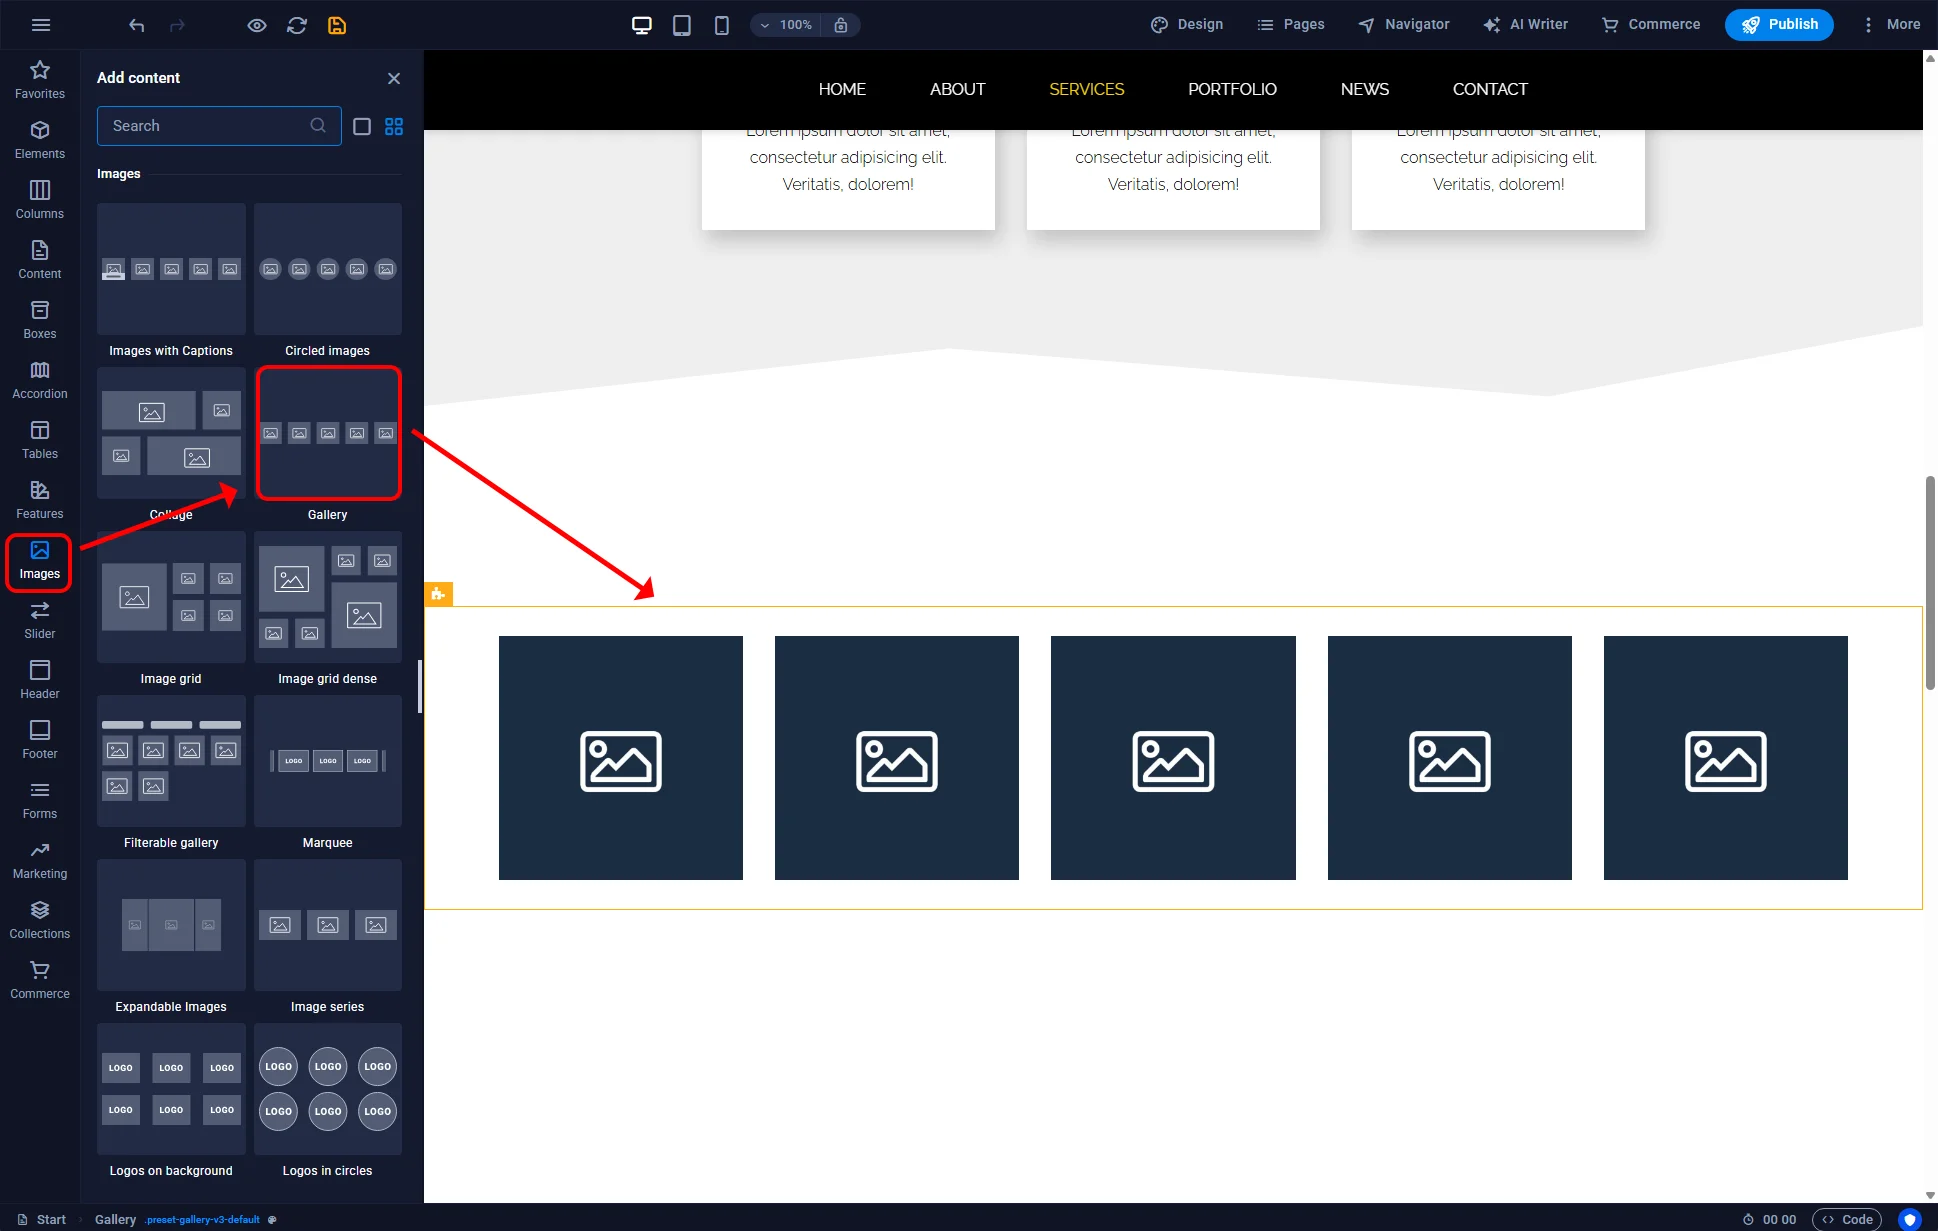
Sitejet Builder - adding a gallery
In the Sitejet Builder editor, the Gallery element has several predefined setting sets, called Variants, which affect the layout and appearance of the photos in the gallery. To change the gallery variant, double-click the Gallery element marked with a yellow frame in the main editor window and expand the Variants section in the settings panel. Clicking on the thumbnail of the desired layout will apply it to the currently edited Gallery.
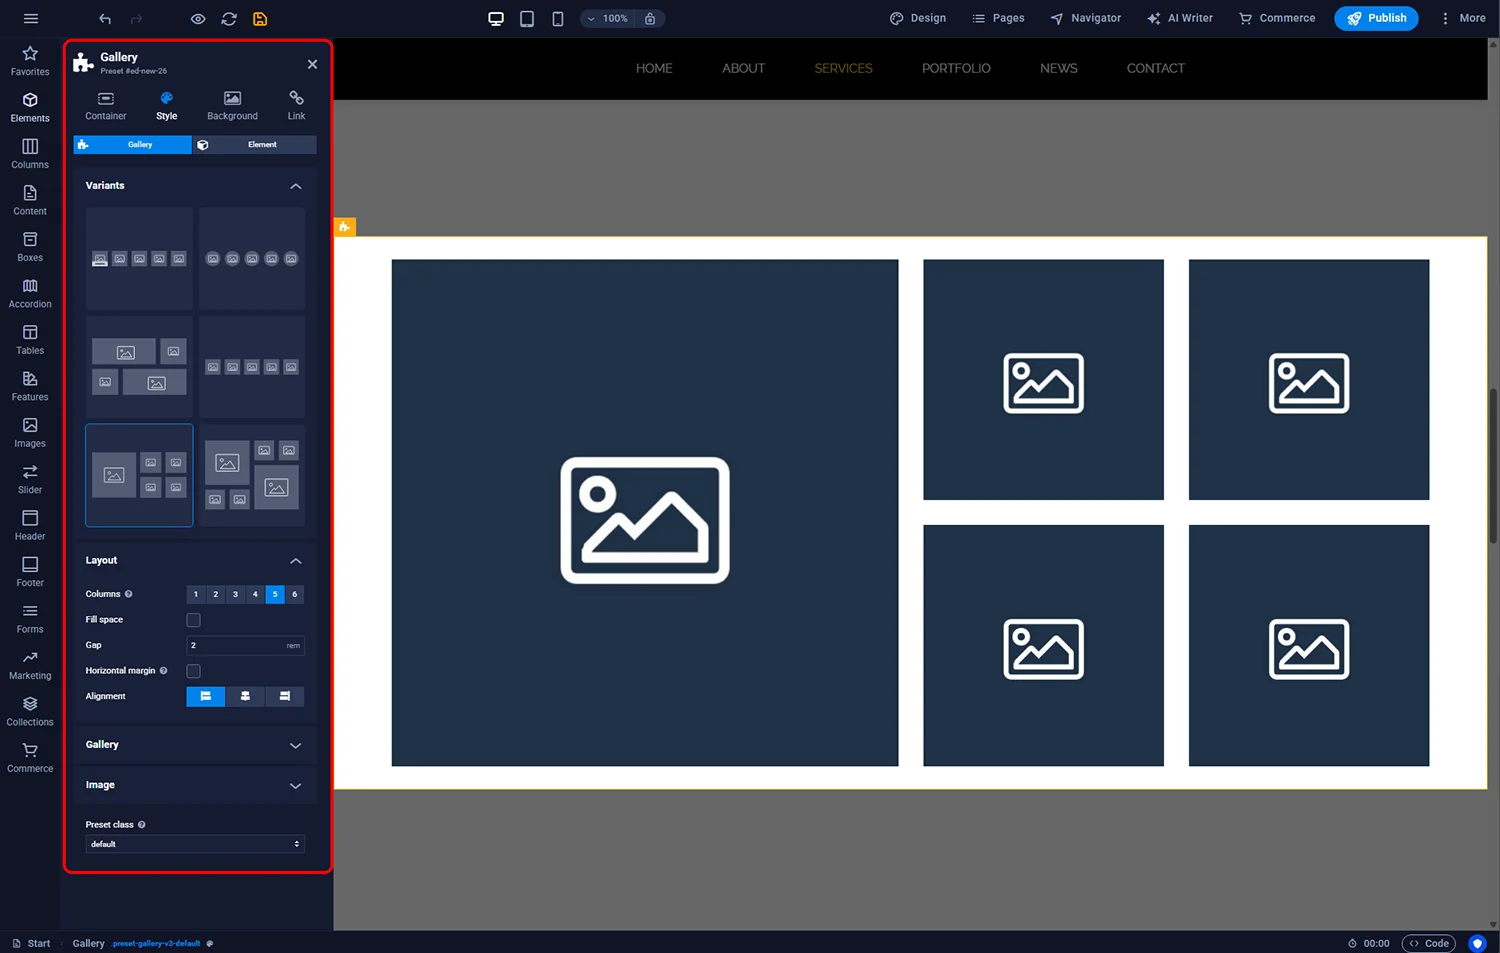
Sitejet Builder - gallery layout
The next step in configuring the gallery is adding photos. To do this, open the settings by double-clicking the Gallery element marked with a blue frame in the main editor window. In the settings panel, in the Image section, two blocks will be visible:
1 - adding new images to the gallery. Each gallery variant creates several default image slots. If you need to add more, use this option. Every image added here will automatically appear in block 2
2 - populating or changing already added images. To fill the image slots created by the selected gallery variant or to replace previously added photos, locate the desired position in this block and double-click on the image.
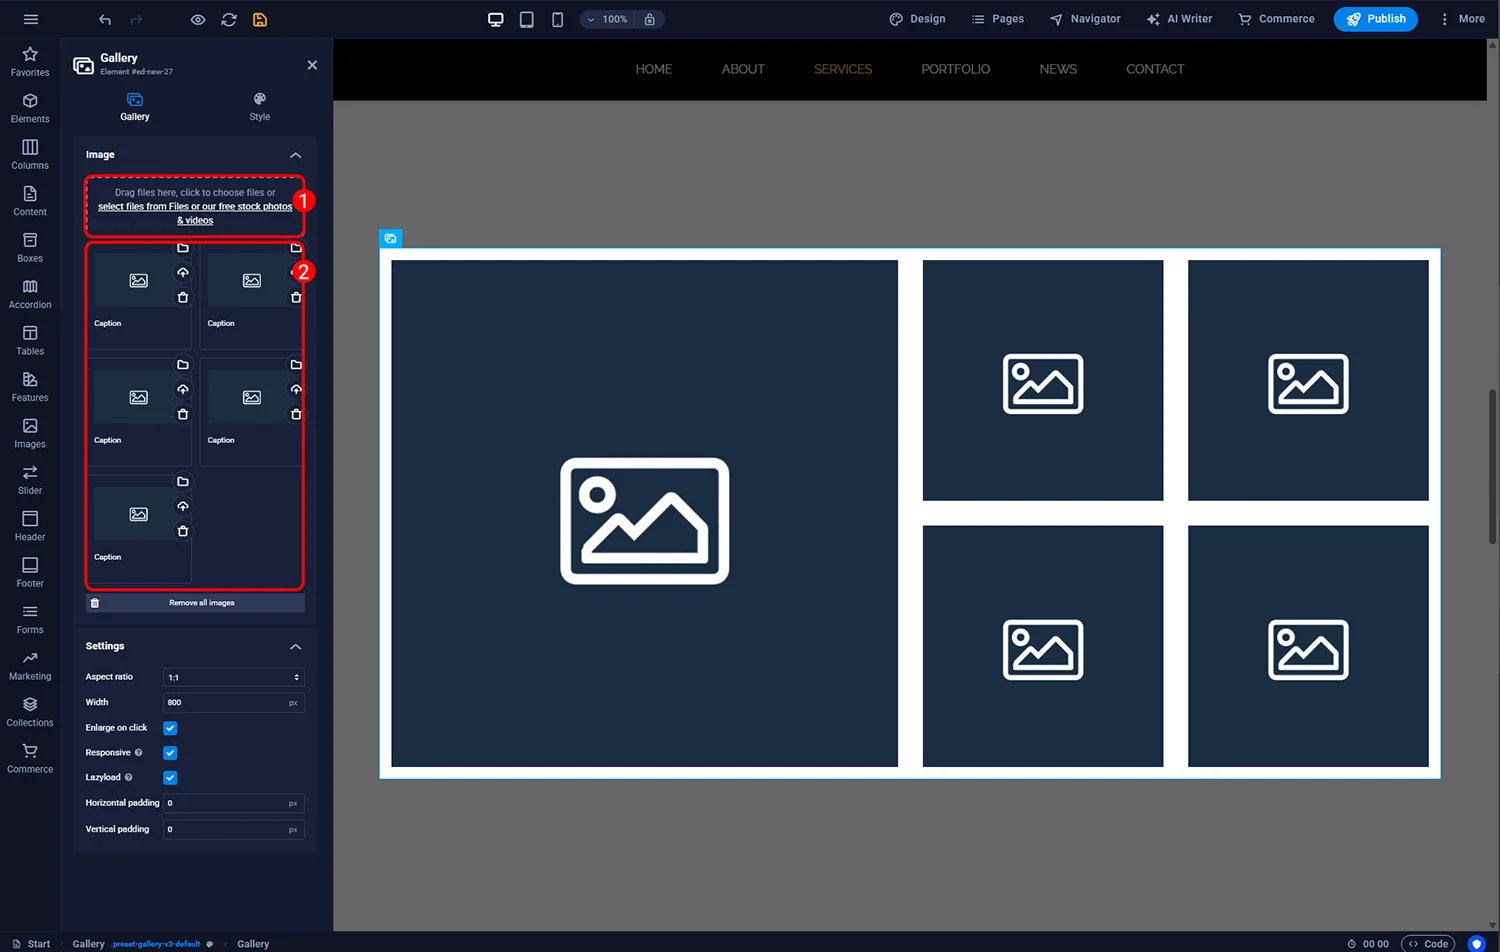
Sitejet Builder - adding images to the gallery
Each gallery variant has its own unique CSS class (np. .preset-gallery-v3-default). Once selected, a new CSS block will be automatically added to the page's CSS code. This code incorporates all the settings chosen in the gallery configuration panel. This means that if there are several galleries in the same variant on the page, changing the settings of one of them will also affect the others.
If you want to create two galleries using the same layout but with different settings (e.g., a different number of columns), you can change the variant class in the Preset Class field within the Style tab of the gallery settings panel. This will add a new CSS block with a new class name without modifying the settings of the previous layout.
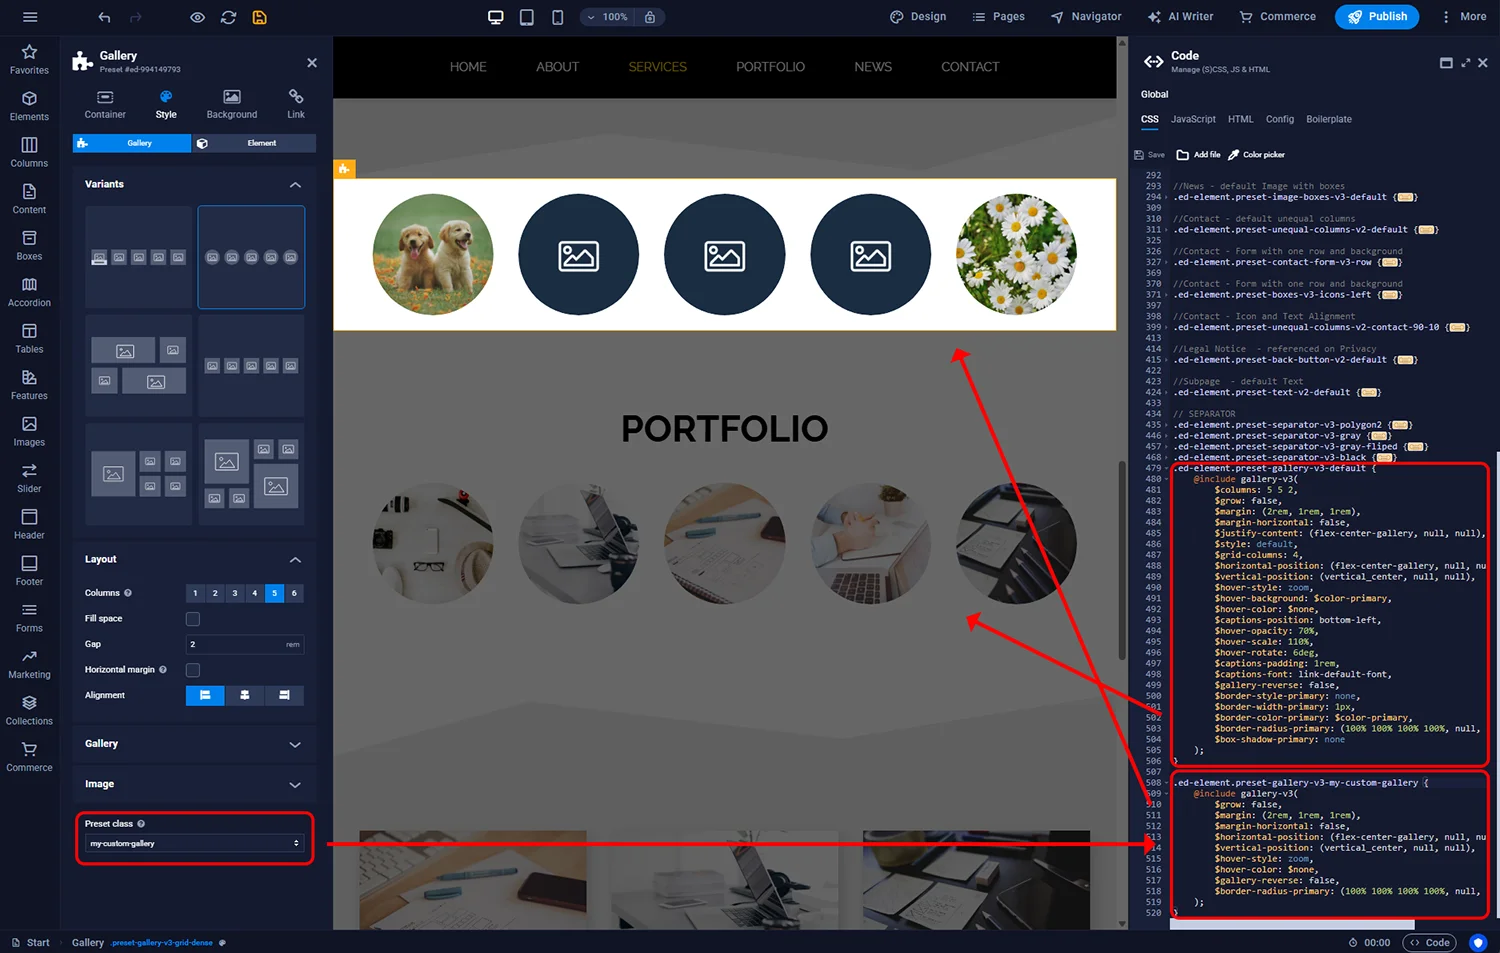
Sitejet Builder - CSS Classes for Galleries
A filterable gallery is a special element that simultaneously displays photos from selected categories. When a category is clicked on the page, only the images assigned to it are shown. Photos can belong to one or multiple categories. To add such an element to the page, select the Filterable gallery option from the Images menu on the left sidebar and drag it to the chosen location on the page.

Sitejet Builder - Filterable gallery
To assign selected images to categories, follow these steps:
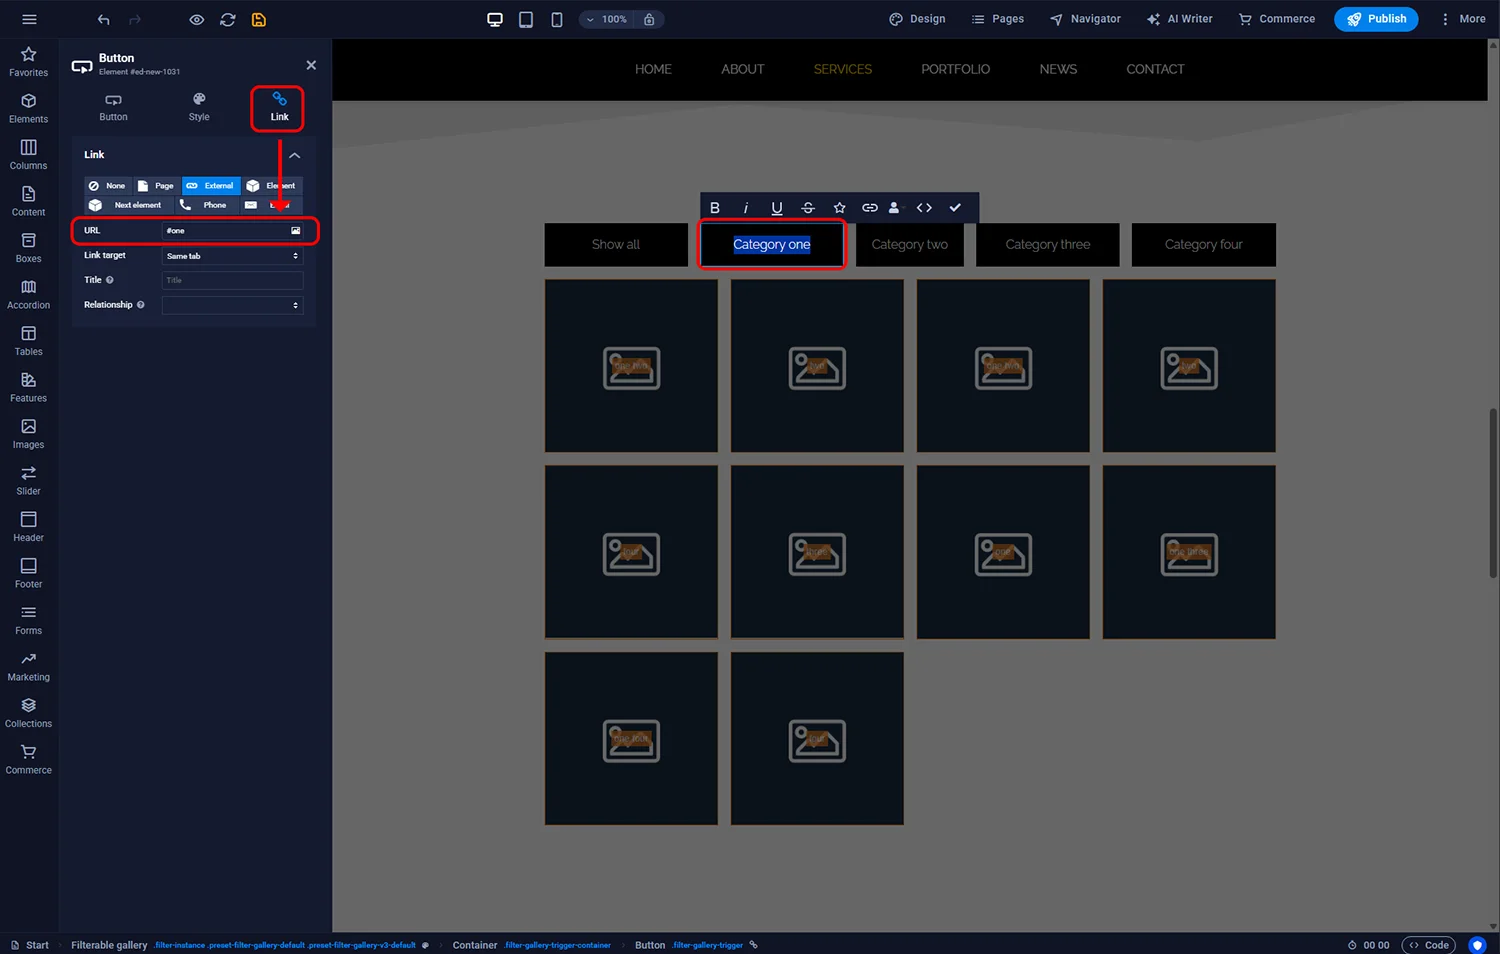
Sitejet Builder - Filterable gallry - category id
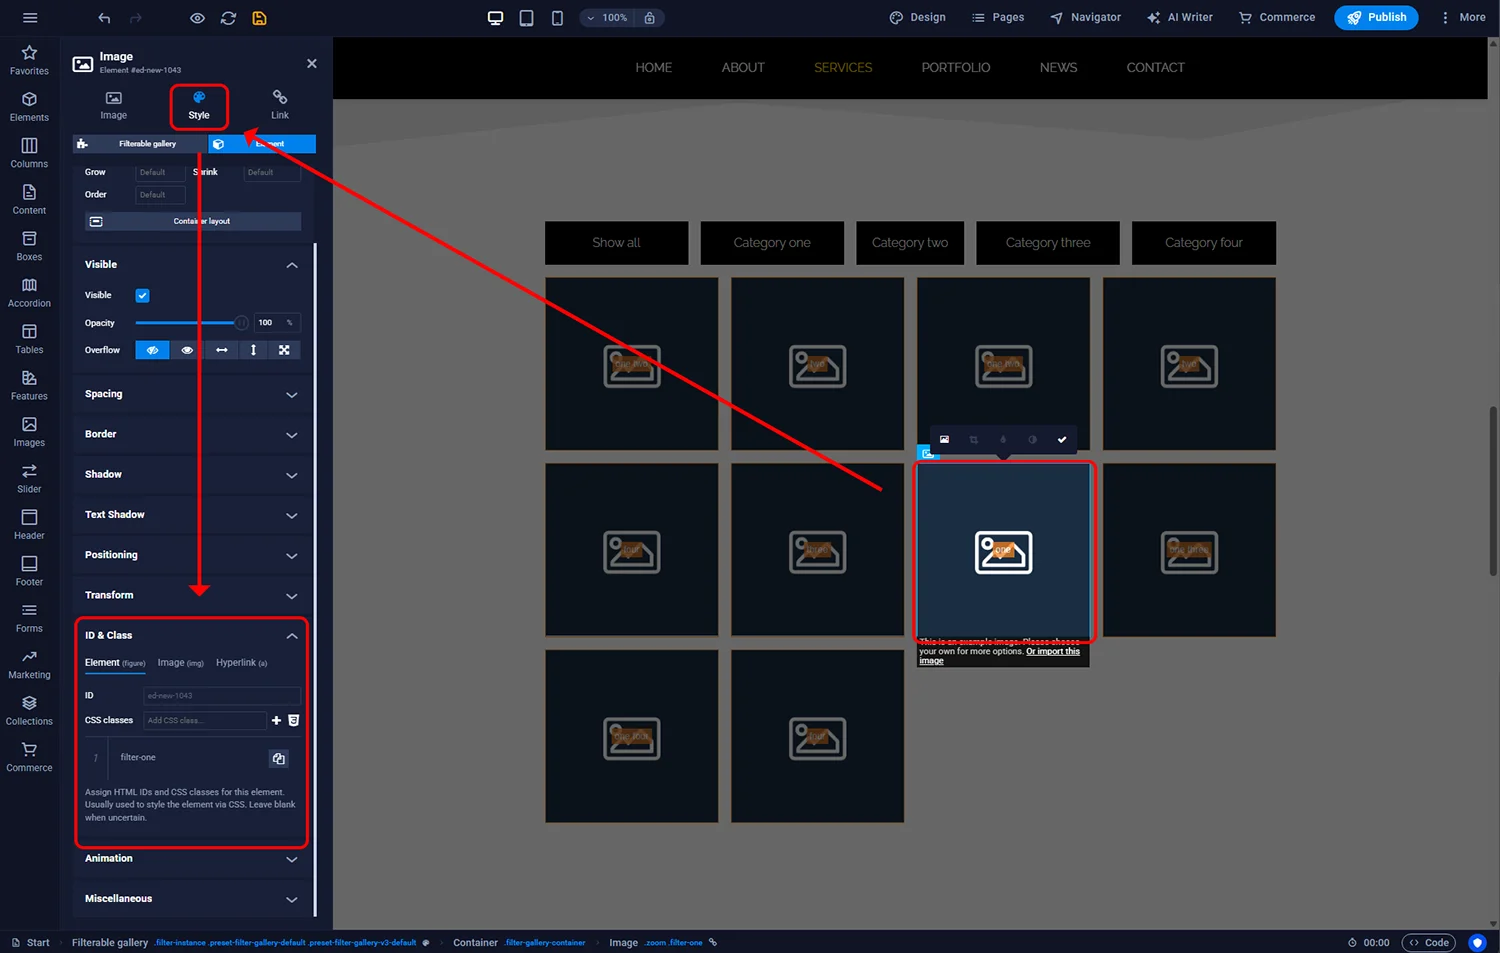
Sitejet Builder - Filterable gallery - image class
To add a button with a new category to the gallery, select one of them in the main editor window and press CTRL+D (or CMD+D on Mac) on your keyboard, or select the Duplicate option from the context menu. This will duplicate it, and you can then proceed with configuration according to the instructions provided above.
© 2026 Smartx Technologies LTD. All rights reserved.