In this article, you will find information on how to add a banner section with text to your website using the Sitejet Builder editor.
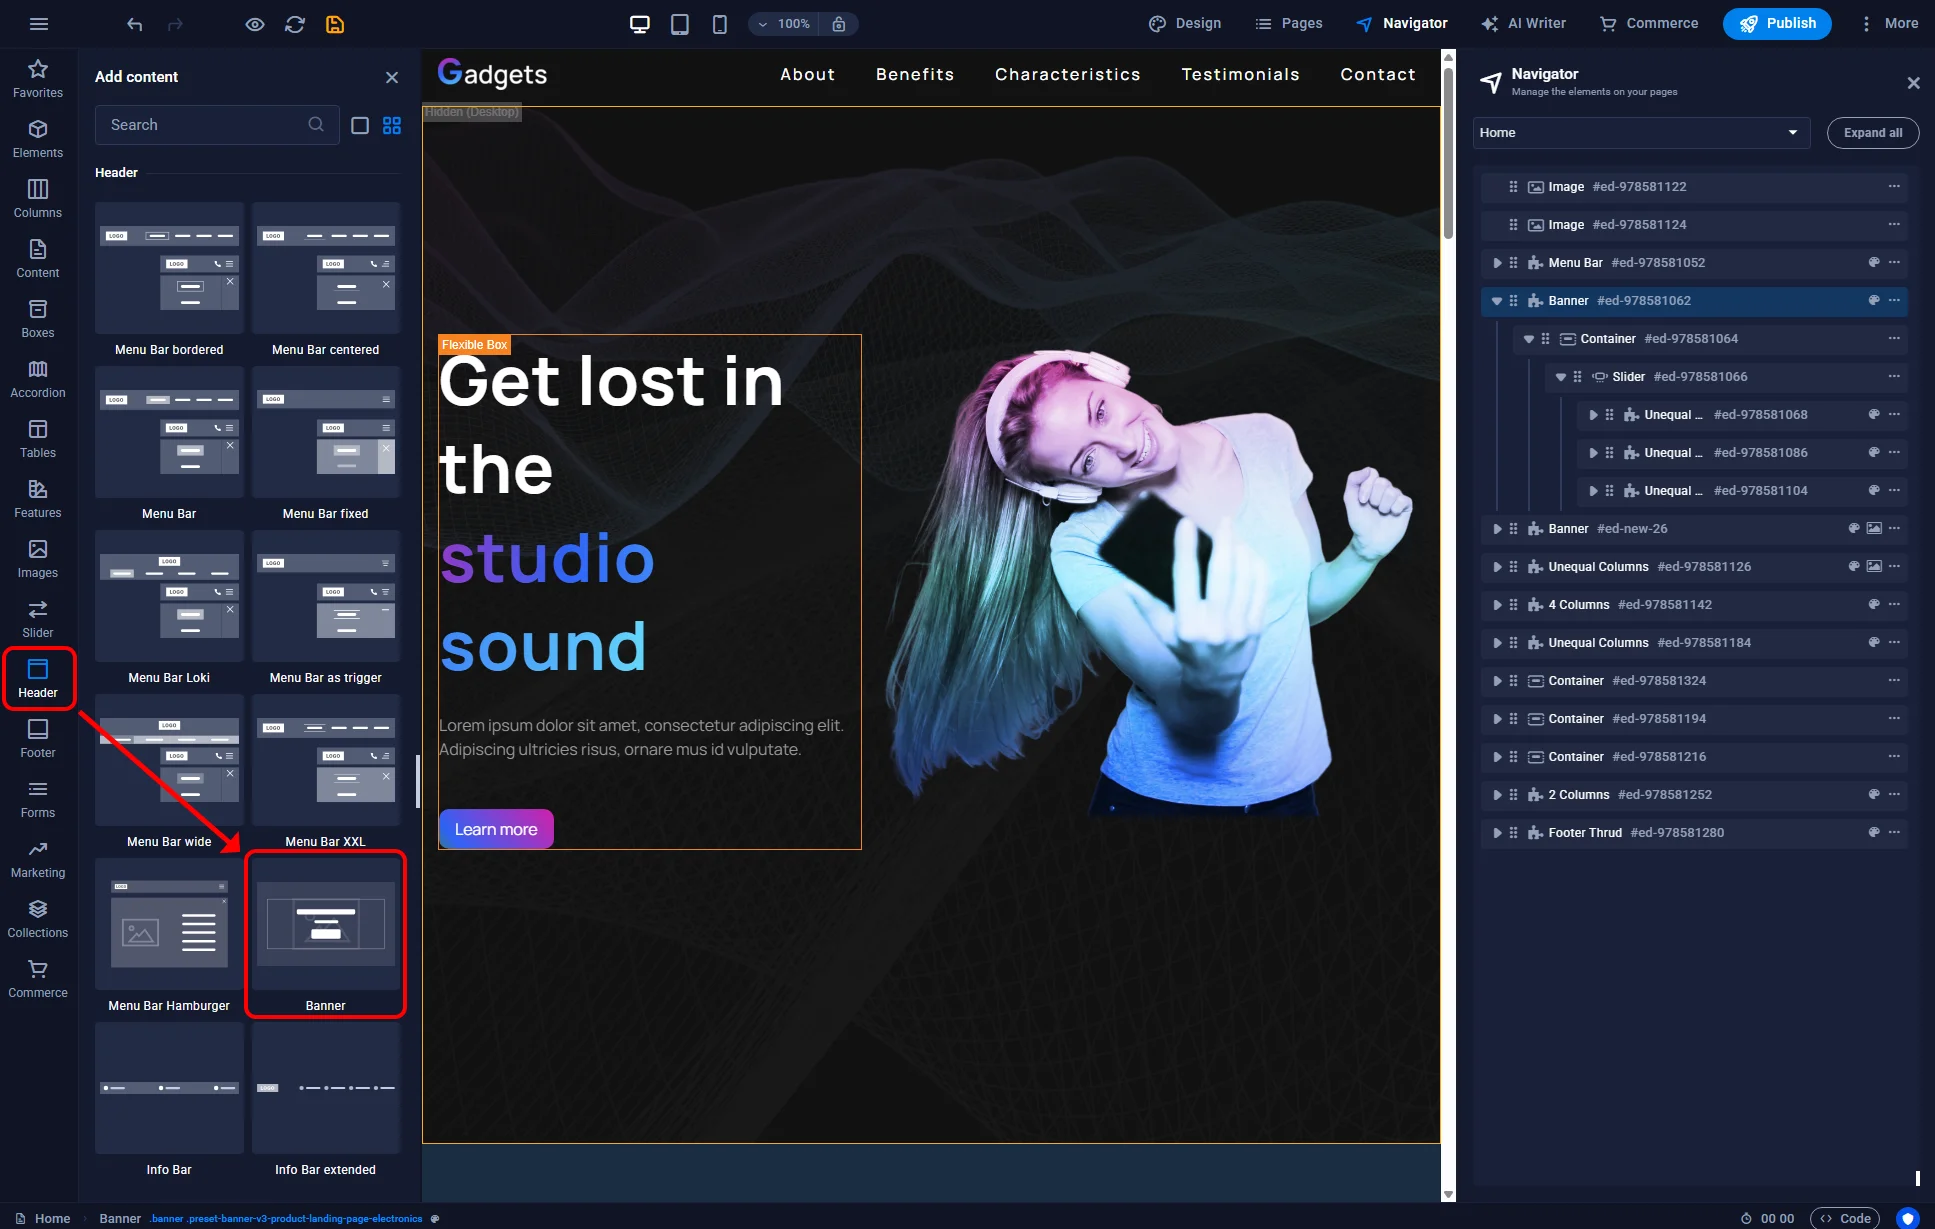
Banners are main sections of websites, most often placed just below the header. They are visible without scrolling and present the most important content of the site. To add such a section using the Sitejet Builder editor, open the Header menu in the left sidebar, select the Banner element, and add it directly below the header section.
Sitejet Builder - adding banner element
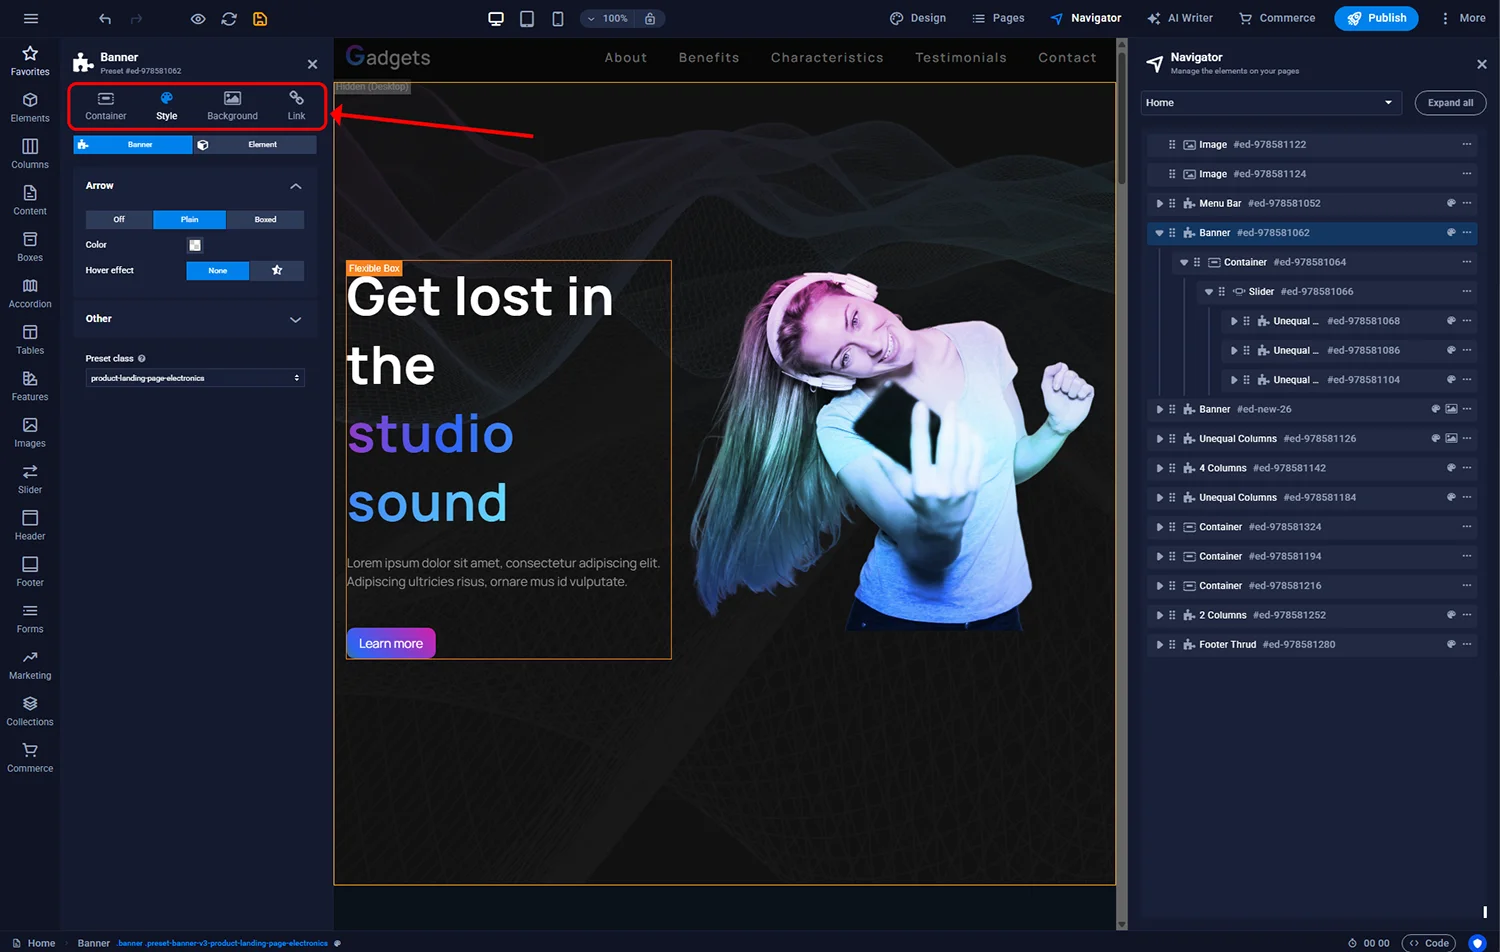
After adding the banner element, you can double-click it in the main editor window to access its settings. Using these, you can change parameters such as the background, margins, animations, or links that the banner will redirect to when clicked.
Sitejet Builder - banner settings
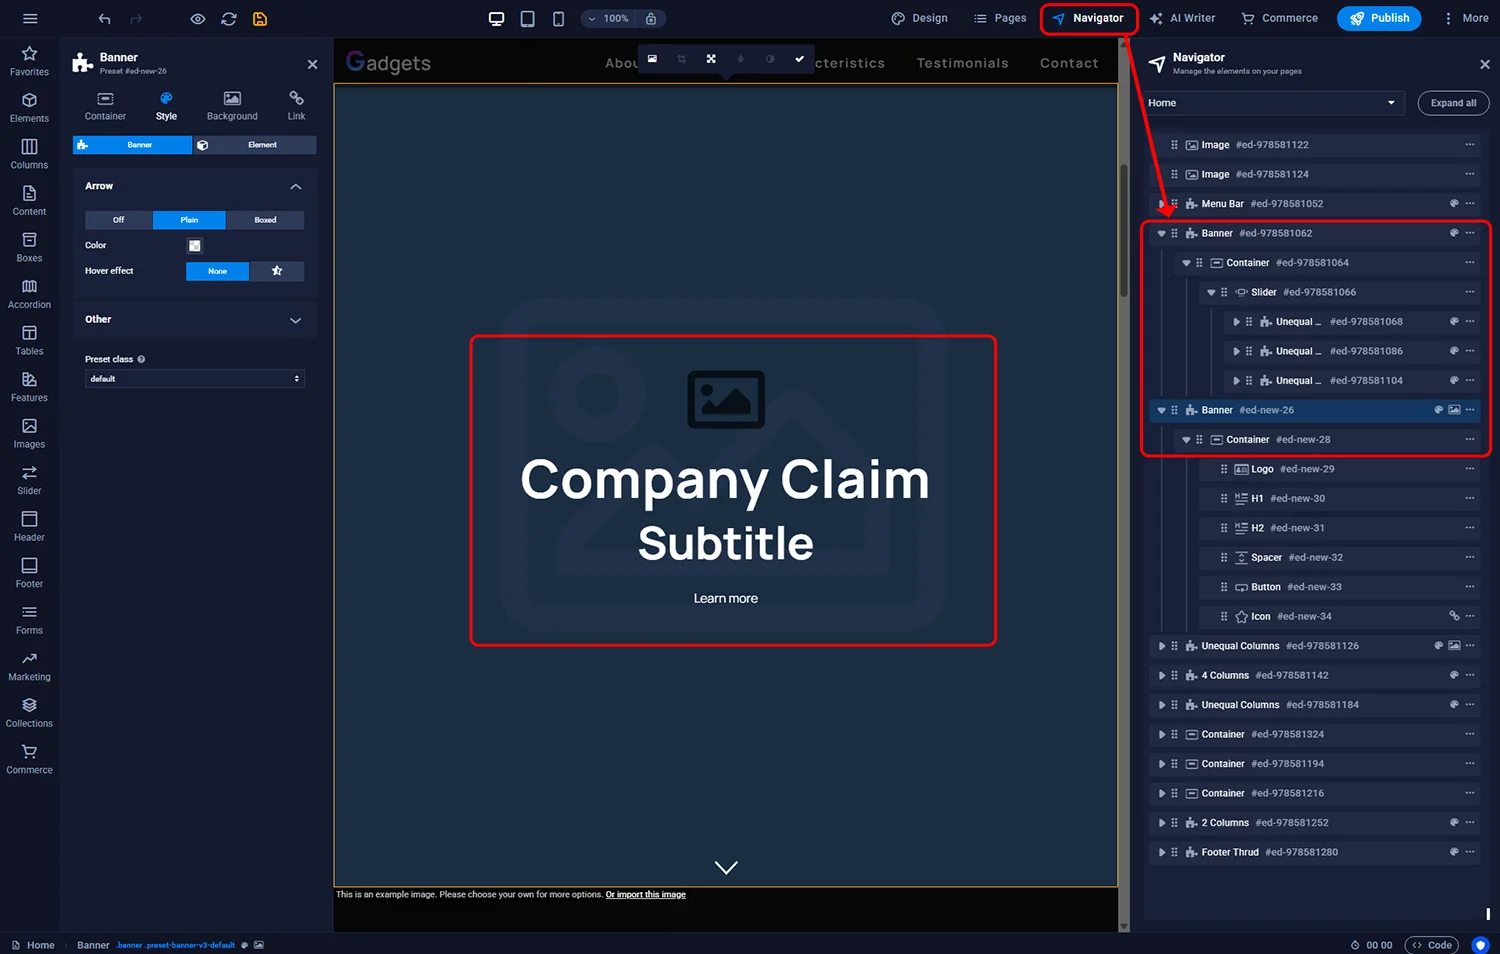
The next step in creating the banner is its content. Sitejet Builder offers extensive possibilities for creating banner content. You can use standard elements such as Text or Image, as well as more advanced ones like Sliders. After adding a banner to the site, basic content-building elements are created by default. If you find these insufficient to achieve the desired effect, you can remove them and add any other elements available by clicking the Elements icon in the left sidebar. To make editing the banner content simpler and more intuitive, we recommend enabling the Navigator panel available in the top menu bar. Using this, you can easily locate, move, edit, or delete elements within the banner.
Sitejet Builder - banner content
© 2026 Smartx Technologies LTD. All rights reserved.